RaceCapturePro TelemetryQuickstart: Difference between revisions
| Line 36: | Line 36: | ||
* Connect antenna to RF port | * Connect antenna to RF port | ||
Thread antenna onto RF port of telemetry module, position antenna in vertical position and then torque the nut, locking the antenna into position. | Thread antenna onto RF port of telemetry module, position antenna in vertical position and then torque the nut, locking the antenna into position. | ||
*Don't overtorque! You only need a moderate amount of force on the nut. | |||
[[Image:telemetry unit white.jpg]] | [[Image:telemetry unit white.jpg]] | ||
Revision as of 15:20, 9 May 2013
Unbox
Install SIM Card into Telemetry Module
Purchasing a SIM Card
- T-Mobile
Purchase a "Pay By the Day" SIM card from your local T-Mobile dealer. We recommend picking a plan with the 2G/3G unlimited data, which is currently $3 USD/day. The plan is only charged when data is actually used during a 24 hour period. Visit T-Mobile for more details on prepaid plans.
- AT&T
AT&T is not currently supported; expect support soon in an upcoming firmware version.
Installing SIM card
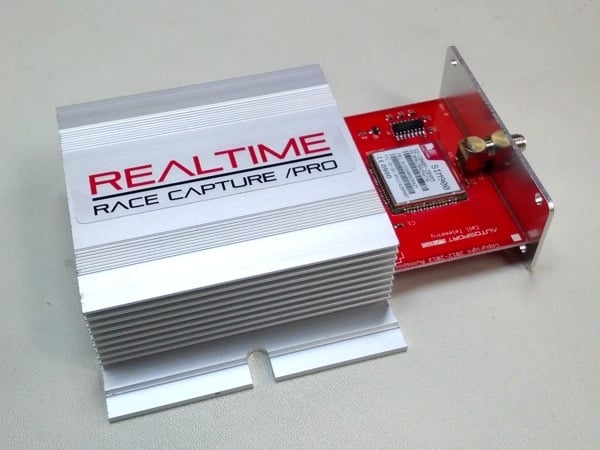
- Open telemetry enclosure
Unscrew the end plate on the antenna side of the telemetry module and slide the board from the case.
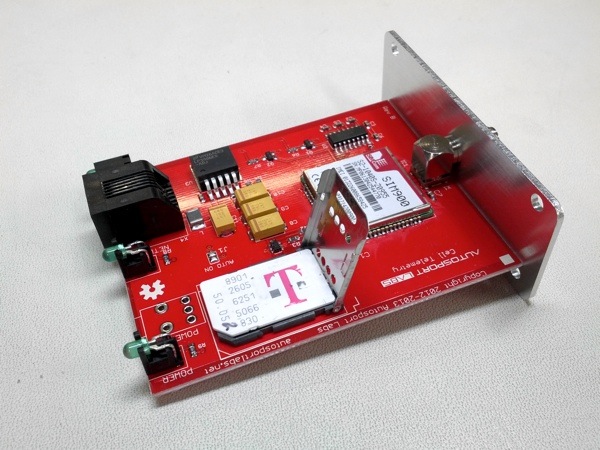
Unlatch SIM card holder
Unlatch the card holder by gently sliding the cover in the 'open' direction and swing the cover open.
Insert SIM card
Insert the SIM card, taking note of the beveled edge. The SIM card can only be inserted in one direction.
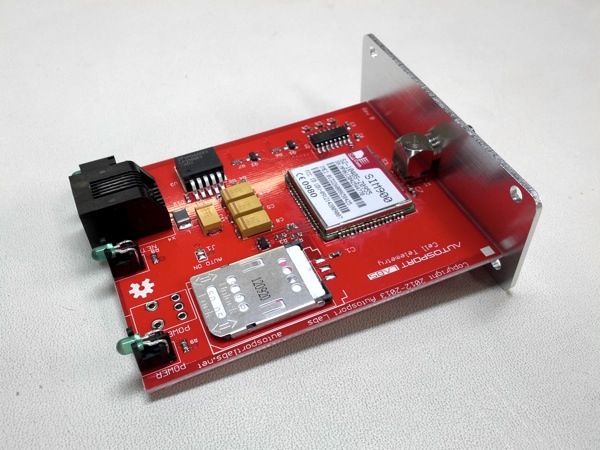
Latch simcard holder in place
Swing the cover closed and slide towards the 'lock' position. take care that the cover is locked on both sides of the holder and it is flush with the board.
Re-assemble case
Slide board back into enclosure. Ensure LEDs are aligned with end plate and reattach end plate with screws.
- You may need to gently press the LEDs down flush against the board in order for them to line up with the holes in the opposite end plate.
Connect components
Connecting Antenna
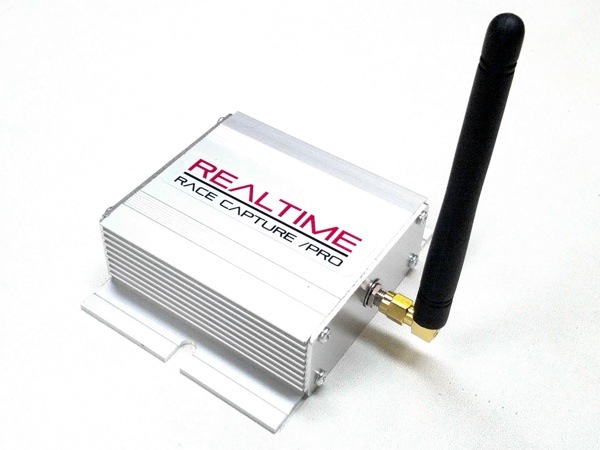
- Connect antenna to RF port
Thread antenna onto RF port of telemetry module, position antenna in vertical position and then torque the nut, locking the antenna into position.
- Don't overtorque! You only need a moderate amount of force on the nut.
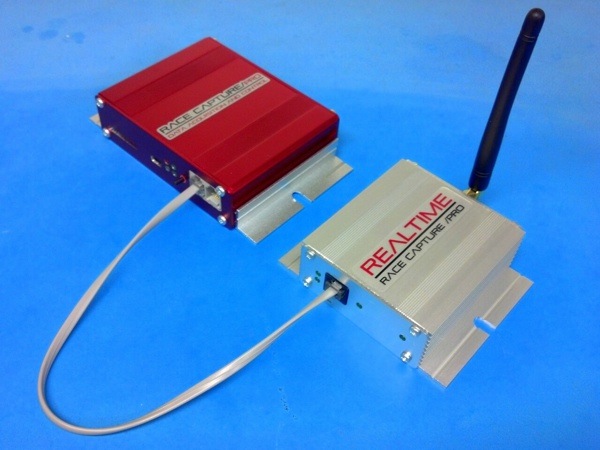
Connect Telemetry module to RaceCapture
- Connect Telemetry module to connectivity port (port to the right of pushbutton switch)
Create a RCLive account and register your device
- Go to www.race-capture.com, click on Signup in the top navigation
- Create your account
- After creating your account you will be prompted to add your device. Do it :)
- Once added you will be given a device id, save this, you'll need it soon.
Install RaceAnalyzer
Follow the software installations instructions here: http://www.autosportlabs.net/RaceCapturePro_SoftwareOperation
Configure RaceCapture/Pro
Set channel sample rates
The default sample rates are too high for real-time telemetry. We recommend you set the following sensors to the recommended values as a starting point.
- GPS 1Hz - 5Hz
- Accelerometer 5- 10Hz
- Sensors - 1 - 10Hz
The total available data rate is a function of number of channels combined with sample rate and is also affected by cellular network conditions. We will have an expanded guide and tool set to help identify optimal sample rates.
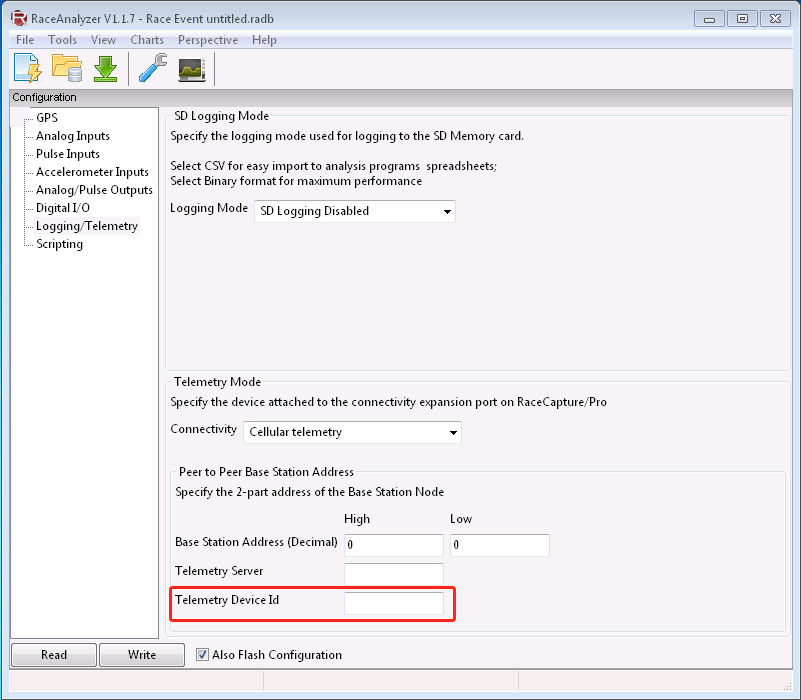
Set device id
Add your device id that you wrote down when adding your device to race-capture.com to the Telemetry Device Id field under the Logging/Telemetry section:
Write configuration
- Click the 'Write' button in RaceAnalyzer
- Power cycle RCP (turn off then on again)
Testing
RaceCapture/Pro with GPS & telemetry needs more power than a regular USB port can supply. You'll either need to connect it to your car's power directly, via a cigarette power adapter with wires or a powered usb hub similar to these:
We have not tested the above units; we offer them as suggestions of possible USB hubs with enhanced power capabilities.
Press the black switch on the front of your RaceCapture/Pro device to start logging.
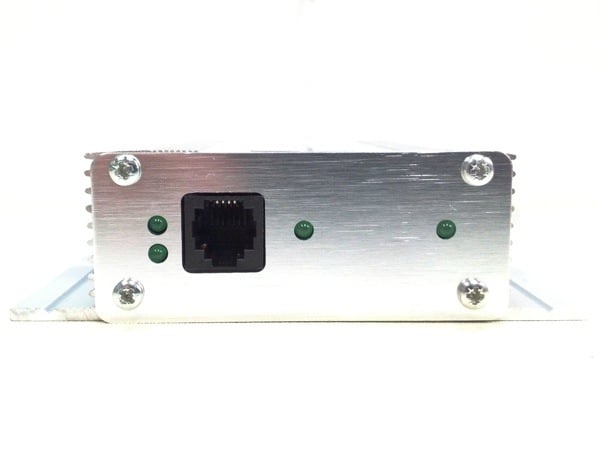
Telemetry LEDs
From right to left
- Power LED
- Network status LED
- Transmit LED (top) Receive LED(bottom)
Got to race-capture.com/home, look for a new event, click on it
Success
View your live telemetry! Race faster!

