ShiftX3 3D printed enclosure
You can print a custom enclosure for ShiftX3, or modify the design for your purposes.
3D CAD files
File:Shiftx3 enclosure rev A.zip
The enclosure consists of the following parts:
- shiftx3.stl : Main housing for ShiftX3 - Qty 1 needed
- shiftx3_back_3dprint: Back cover for housing - Qty 1 needed
- shiftx3_light_pipe.stl: Light pipe for LEDs - Qty 9 needed
- shiftx3_light_pipe_photosensor.stl: Light pipe for photosensor - Qty 1 needed
Printing the enclosure
Color and material are not critical for the enclosure; however we recommend PETG or ABS.
Printing light pipes
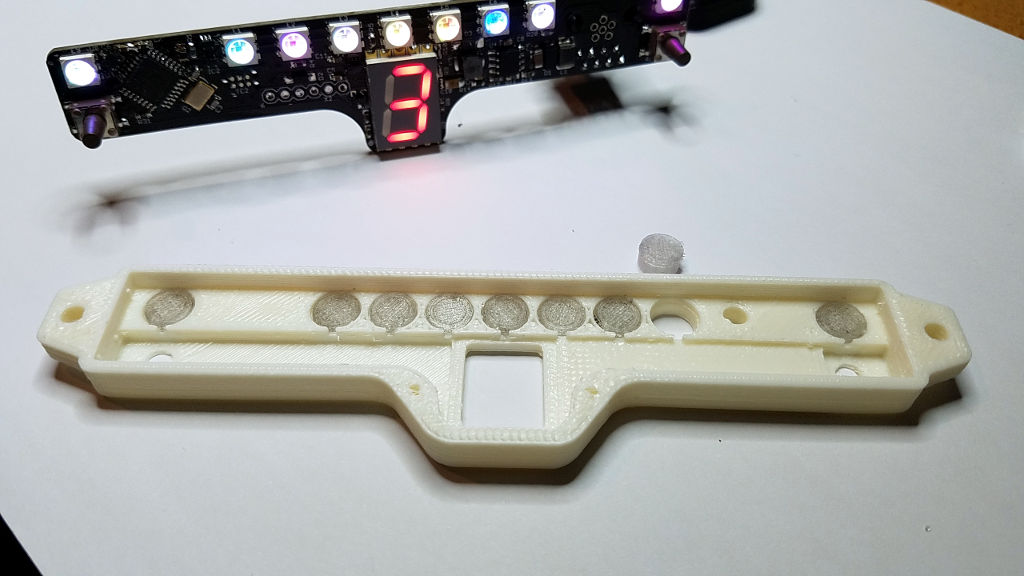
Print the 9 LED light pipes and 1 photosensor light pipe in clear filament. PETG is recommended for optical clarity.
Enclosure clean up
Ensure extra filament is completely removed from the inside of the enclosure and is completely clean, so the ShiftX3 circuit board can fit flush and level inside the enclosure.
3D printing notes
- Print extra light pipes and print with a brim to purge heat-scorched / darkened filament from the extruder.
- Avoid printing just one light pipe at a time - printing just one will cause the part to sag and deform due to concentrated heat in the small part. We recommend you print at least 4 at a time to ensure heat is distributed across the parts and retain dimensional accuracy.
Assembling the enclosure
Install light pipes
Press the LED light pipes into the enclosure from the back side, ensuring they are flush with the front.
- Note -The LED light pipes have a small lip that locks into the back surface.
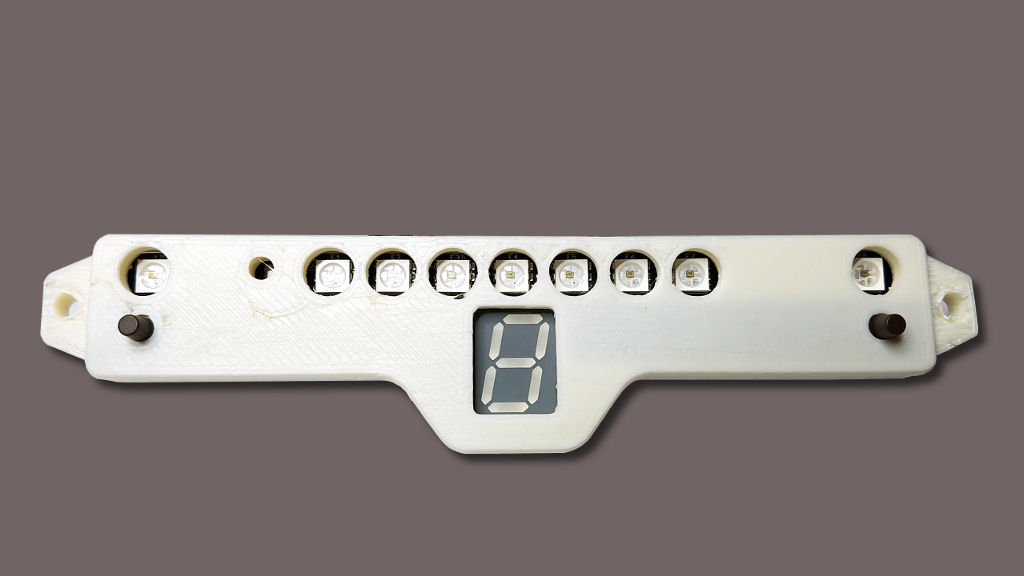
Press the photo sensor light pipe into the front of the enclosure. There should be a tight interference fit; if there is not, use a tiny drop of super glue from the back side of the enclosure to secure it.
Install ShiftX3
Install ShiftX3 into the back of the enclosure, guiding the switches into their respective hole.
- Note - Take care to not torque the switch handles sideways to prevent damage.
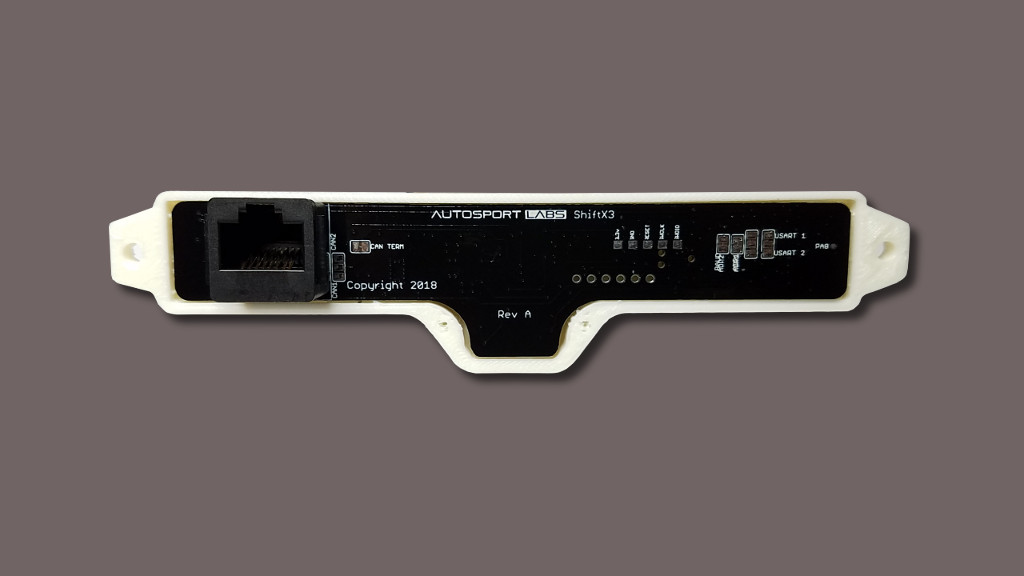
Gently press the back of ShiftX3 board so that it is fully seated into the enclosure. There should be a 0.5mm lip around the back of the enclosure where the back plate will lock into place.
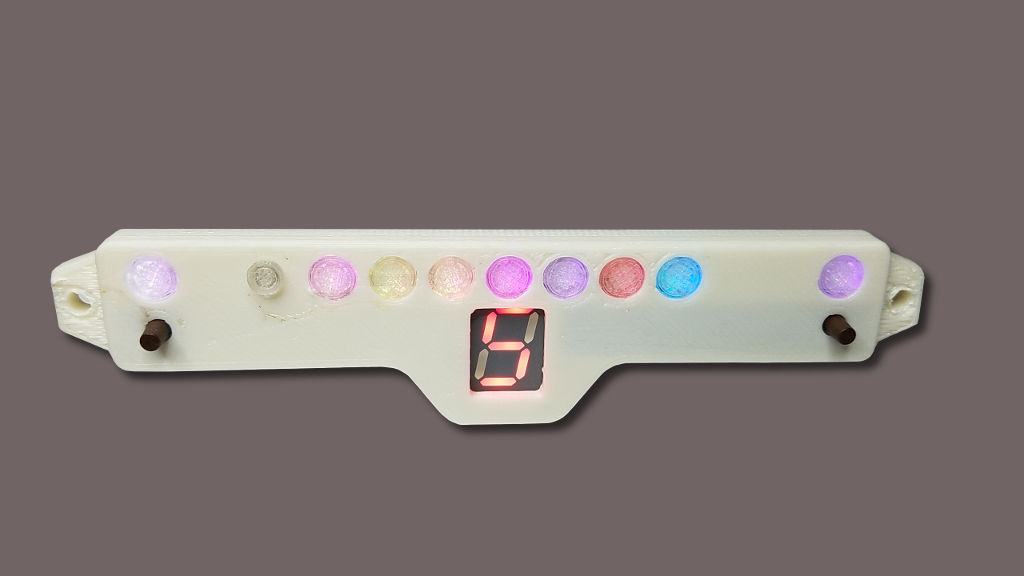
ShiftX3 in white ABS
ShiftX3 in black ABS
Install the back panel of ShiftX3 so the shallow lip of the back panel sits within the recess of the ShiftX3 enclosure.
When pressed together, there should be no gap between the enclosure and the back plate. If there is, check the inside of the enclosure to clean up any additional 3D printed filament.
Secure the back plate using two M2x5mm screws. Do not over-torque.


