MJLJ V3 vehicle installation guide
EDIS installation
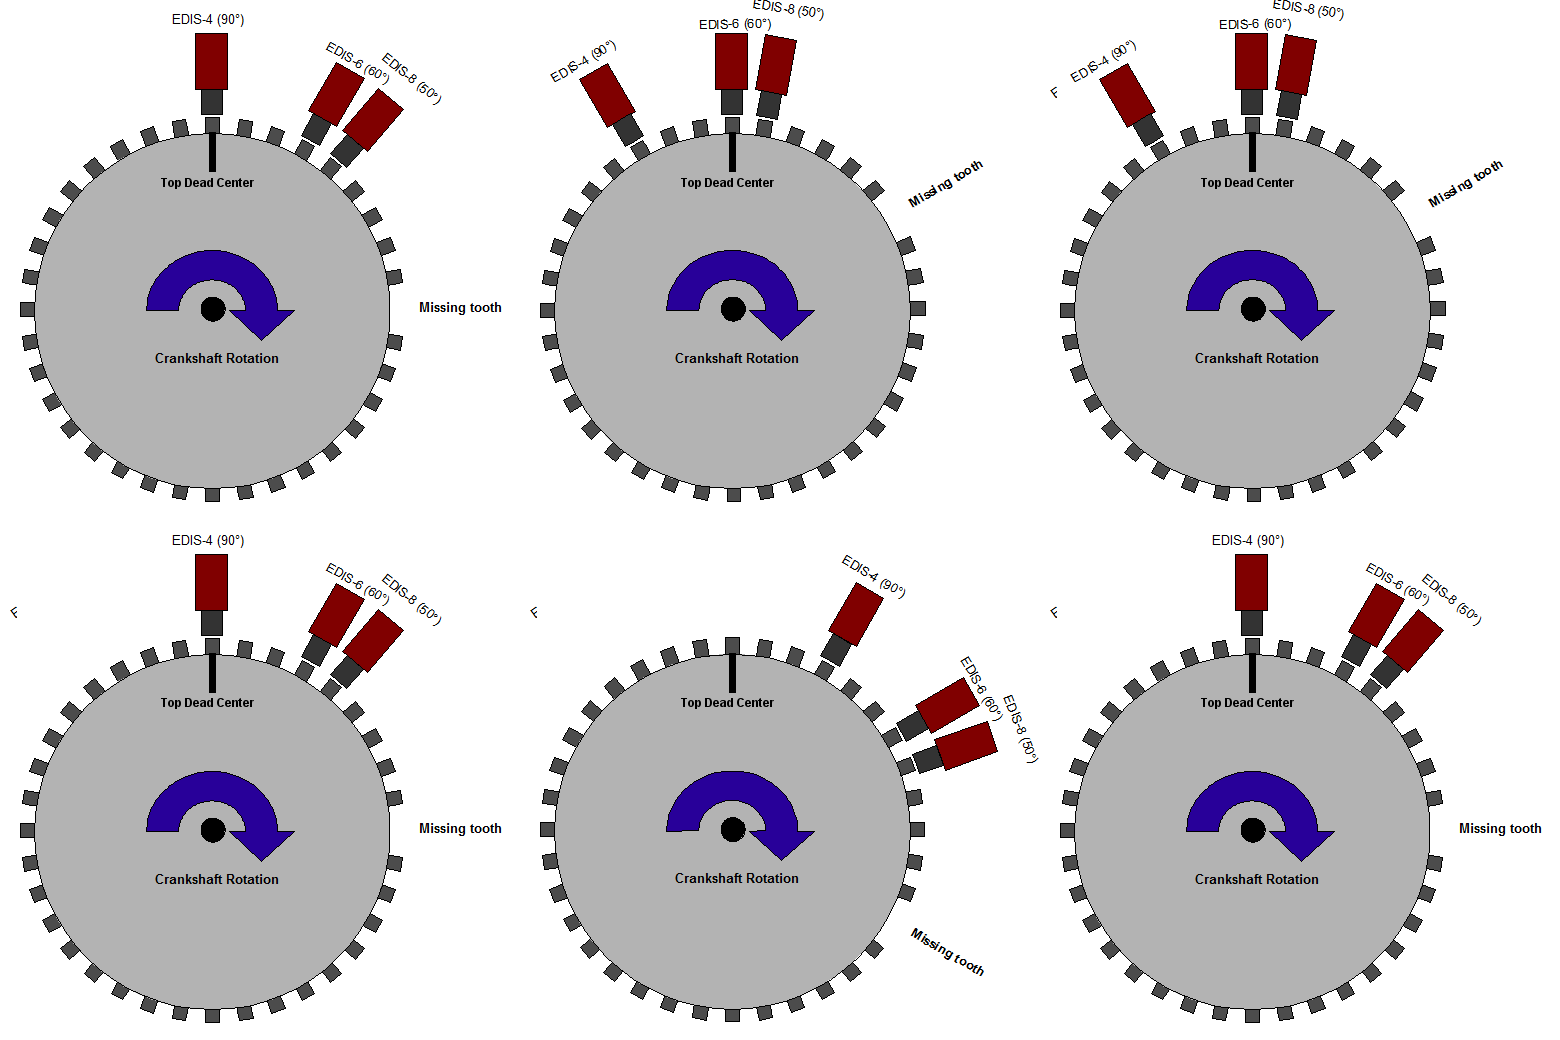
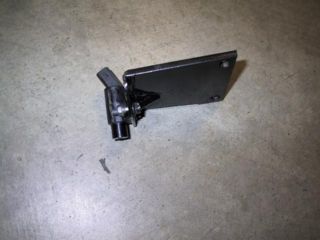
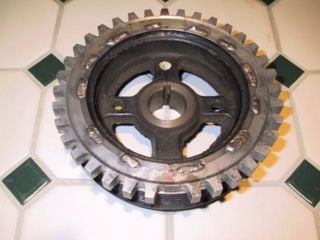
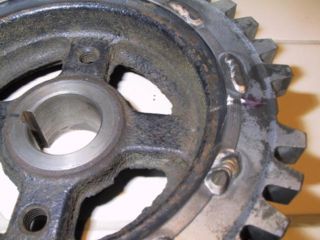
Shown: Relationship between engine Top Dead Center and sensor positioning. Wherever you place the sensor, the distance from the missing tooth must remain constant.
EDIS and coil-pack installation
Since the EDIS module can operate the engine by itself in a "limp-home" mode, with the advance fixed at 10 degrees BTDC, it's recommended you install the EDIS module and coil packs first, and then verify your engine runs before wiring in the MJLJ.
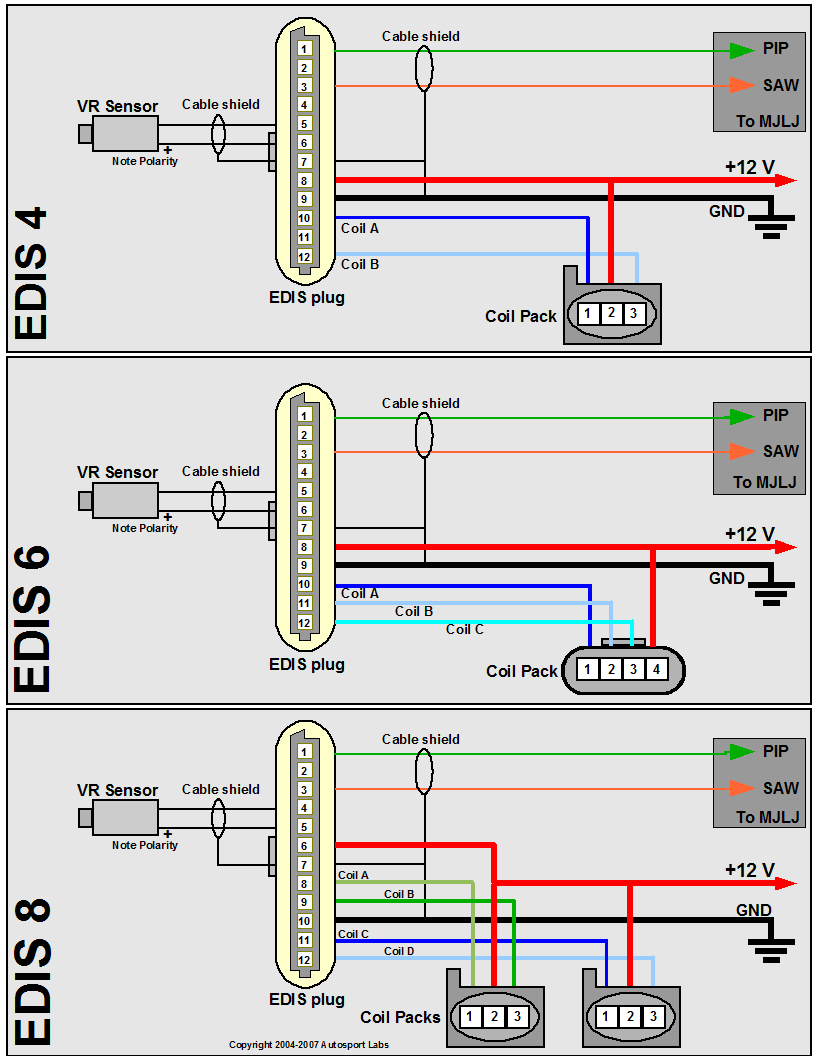
Wire up the EDIS module and coil pack(s) using the following diagram, matching your engine type (EDIS 4 = 4 cylinder, EDIS 6 = 6 cylinder, EDIS 8 = 8 cylinder). Engines with 'even-fire' configurations are supported, which represents the vast majority of 4,6, and 8 cylinder engines in production.
Wiring notes and guidelines
- Use shielded cable for the VR Sensor. Be sure to ground the shield as well. A 2 conductor cable with a foil shield works well.
- Note the VR sensor is polarized- you will not get spark from the EDIS module if it is wired backwards. If you don't see spark, try reversing the connection on the VR sensor.
- Minimize supply voltage variances and especially ground loop problems:
- It's strongly recommended you power the EDIS module and MJLJ from the same electrical circuit. Typically this will be +12V switched (Key to "on" position)
- Important! - Ground both the EDIS and MJLJ at the same point on the chassis.

