RaceCapturePro2 3.5G module upgrade
3.5G Module Upgrade
Overview
The 3.5G module employs the U-blox SARA-U280 GSM module and is compatible with GSM carriers in North America such as AT&T, T-Mobile and MVMO carriers using these networks.
More recent 3.5G upgrades (as of June 2017) use the U-blox SARA-U201 module, with worldwide compatibility. You can confirm the module you have by reading the module ID on the board.
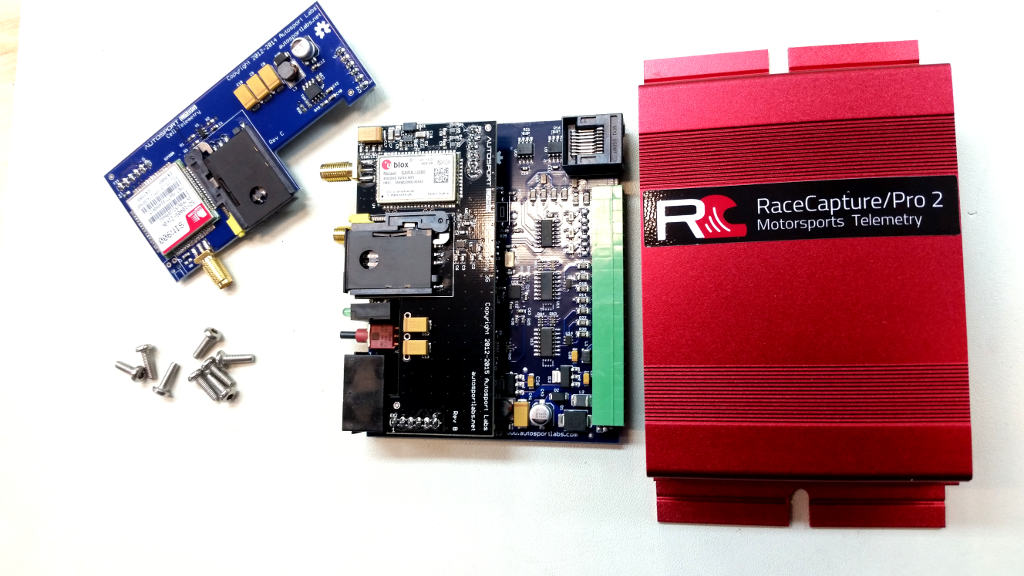
The form factor of the 3.5G module is identical to the 2.5G module, allowing any RaceCapture/Pro MK2 system to be upgraded. This guide steps you through the process to upgrade RaceCapture/Pro MK2 to the 3.5G cellular module.
Obtaining the 3.5G module upgrade
You can purchase the 3.5G module upgrade from the online store
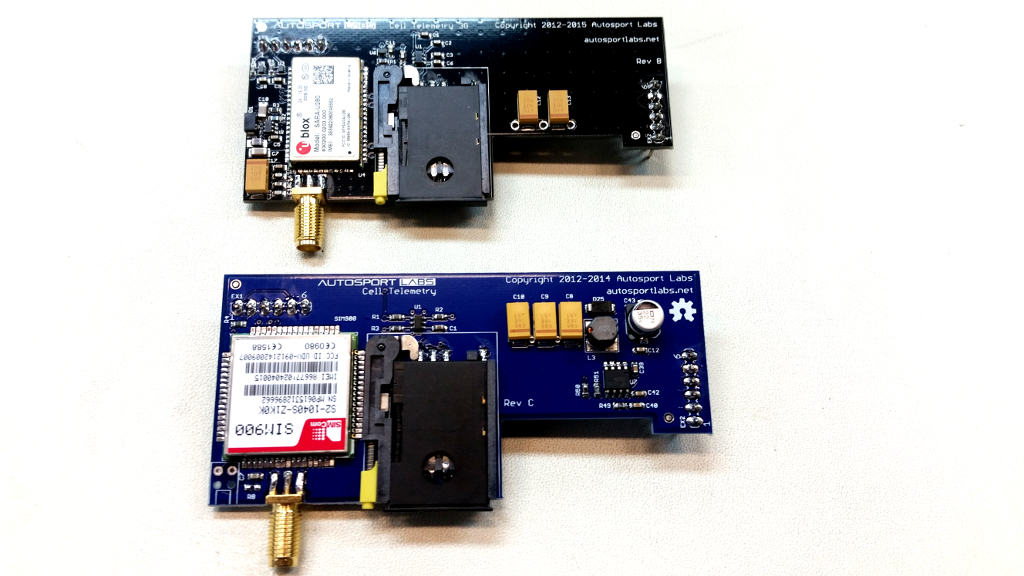
Module Identification
- Top: The 3.5G module, identified by the U-Blox logo.
- Bottom: The 2.5G module, identified by the SIM900 designation.
Identification in Firmware
To identify a 3.5G vs 2.5G module, power-cycle RaceCapture/Pro and observe the logfile output. Look for cellular initialization messages
- 2.5G: Cellular initialization messages begin with [SIM900]
- 3.5G: Cellular initialization messages begin with [ublox]
Compatibility Notes
- This 3.5G module is compatible with RaceCapture/Pro MK2 only.
- Early 3.5G module upgrades were intended for North America Markets only (United States, Canada, Mexico). Later modules, as of June 2017 use the ublox U-201 module, which has worldwide compatibility.
- The existing 2.5G module remains available for worldwide operation.
Installation
Disassembling RaceCapture/Pro
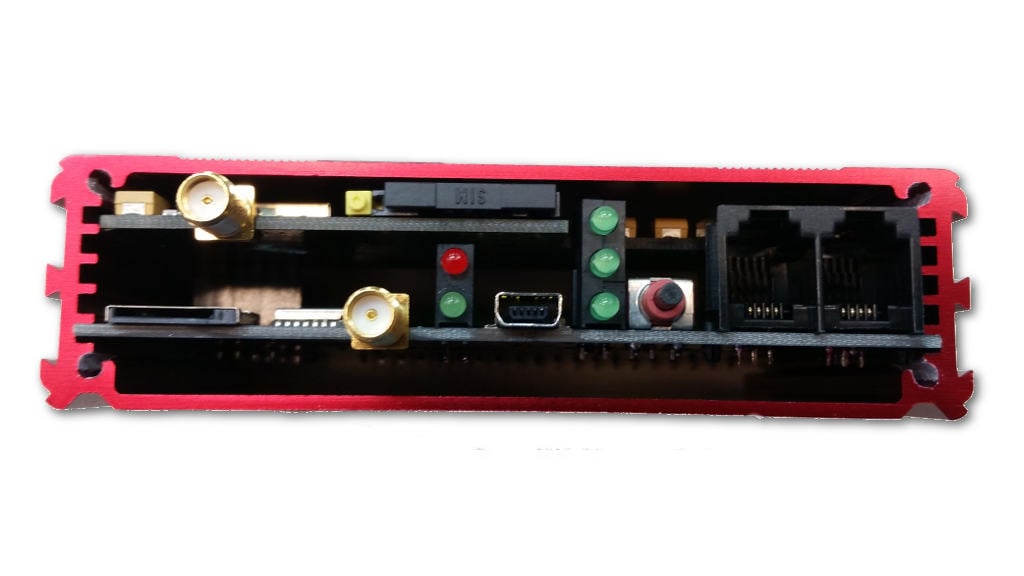
- Using a torx T10 bit, carefully remove the screws from the LED end of RaceCapture/Pro.
- Do this slowly with a hand tool to prevent stripping of threads
- Unscrew and remove the gold SMA antenna nuts and washers from the GPS and cellular antenna connections.
- Remove the end plate
- Remove the board assembly from the enclosure.
- You will need to pop the green terminal block free from the opposite end plate as it is a tight fit, by design.
Install 3.5G module
- Remove the SIM card if necessary.
- Gently pry the module away from the base board one side at a time until it is free from the socket on either side of the board.
- Remove the new 3.5G module from the pouch and stow the 2.5G module into this pouch. Set the 2.5G module aside.
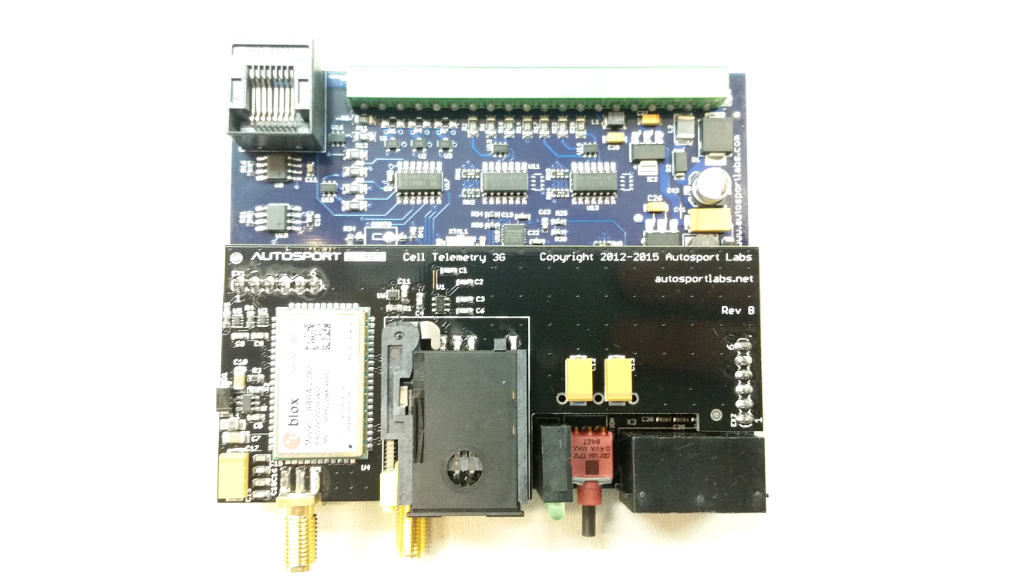
- Install the the 3G module onto the same sockets of the RaceCapture/Pro board
- Ensure the pins are plugged in on both sides
- Ensure both sides are plugged in evenly, with no overhanging pins
- When installed, front edge of telemetry module board should be exactly parallel to main board of RaceCapture/Pro.
Re-installation
- Slide the assembly back into the enclosure, sliding the board into the bottom rail slot
- When the board reaches the opposite end, you may need to use a tool to press down onto the green terminal block to ease it back into the machined cut-out.
- Once the board is installed, re-install the end plate
- Ensure the flanges are re-installed, if necessary
- Using the new screws provided, carefully re-attach the end plate using a hand tool.
- Re-install the SMA washers and nuts. Torque the nuts to 3-5 inch/pounds
- Do not overtighten nuts
Firmware support
The 3G module requires 2.9.x firmware or later. Upgrade the firmware through the standard process using the RaceCapture App.
- Ensure your configuration is backed up before upgrading firmware
Testing
- Re-insert your SIM card and follow the testing procedure in our telemetry quick start guide.
- Note: the 3.5G module does not require constant 12v for operation, it can be tested via USB power alone.
Re-installation into car
- Re-connect connectors, antennas, and terminal block and install as before.


